Contents
- Getting a virtual machine
- Installing Juice Shop
Getting a virtual machine
If you want, you can run Burp Suite directly on your computer. It’s available for Windows, Linux, or macOS. I prefer to run it on a virtual machine (VM). If you want to skip the VM and put it directly on your host, grab it here: https://portswigger.net/burp/communitydownload
This section covers the basics of setting up a Kali Linux VM on VirtualBox (VB). I’m using VB because it’s free, but if you’re fancy you can use different kit such as VMWare. I’ve gone with a Kali VM because it comes with a bunch of cool security tooling (including Burp Suite) preinstalled. Other distros such as Ubuntu are also great, especially if you want to do non-security things (sometimes stuff Just Works on Ubuntu but not Kali). Again, use what you’re comfortable with- I’m just detailing one of your many options here.
Grab VirtualBox here and follow the installation instructions: https://www.virtualbox.org/wiki/Downloads
Grab Kali from here: https://www.kali.org/get-kali/#kali-installer-images I recommend going for Installer Images and grabbing the installer from there (.iso). They do also provide prebuilt VMs, but I personally prefer a clean build.
Once that’s downloaded, we’re going to add a new VM in VirtualBox. Click the blue star thing with New under it. You’ll see this menu:

Give your VM a name, select where you want it to be installed on your drive, and select the ISO Image that you just downloaded. I find that VMWare and VirtualBox default to assuming that Kali is Ubuntu based, when in fact it’s Debian. I’m not sure how much it matters here, but I change the OS Distribution options over to Debian.
Next up, you specify the hardware.
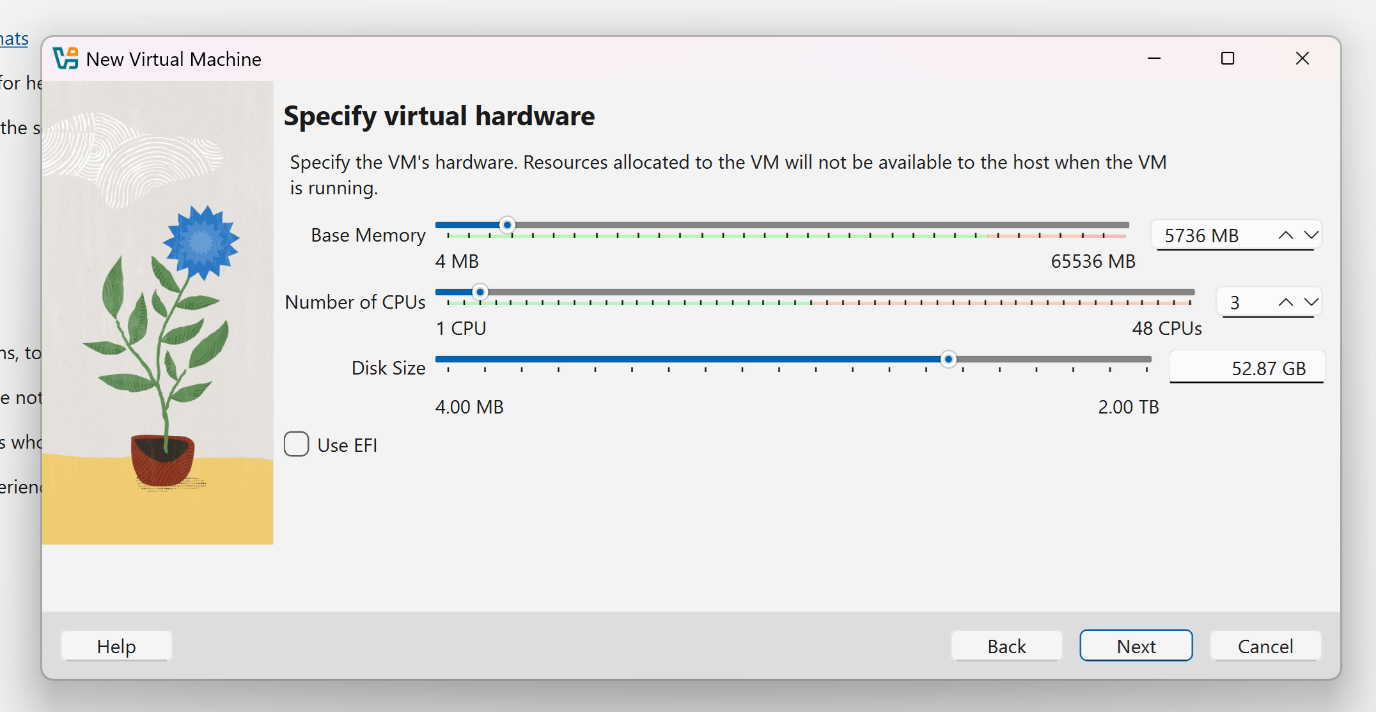
I give it a little bit above the defaults on memory and CPUs, so it isn’t too slow. You can change these two values after you’ve set up the VM if you want, so don’t stress too much. However, I would recommend increasing the default disk size. The default size of 20GB will fill up completely if you run an upgrade on your new Kali VM, and will make the VM absolutely shit the bed. I went with ~52GB here and the bed remained unshit, so go for something around this value (yes I know you can add more virtual drives at a later point, but if your VM is already segfaulting on start because of space issues, that doesn’t help you).
Click onwards, and you’ll see a summary of your new VM. Click Finish and it’ll be added to VB. Once that’s done, you can click the green arrow with Start to launch it. You’ll now be invited to setup your new installation.
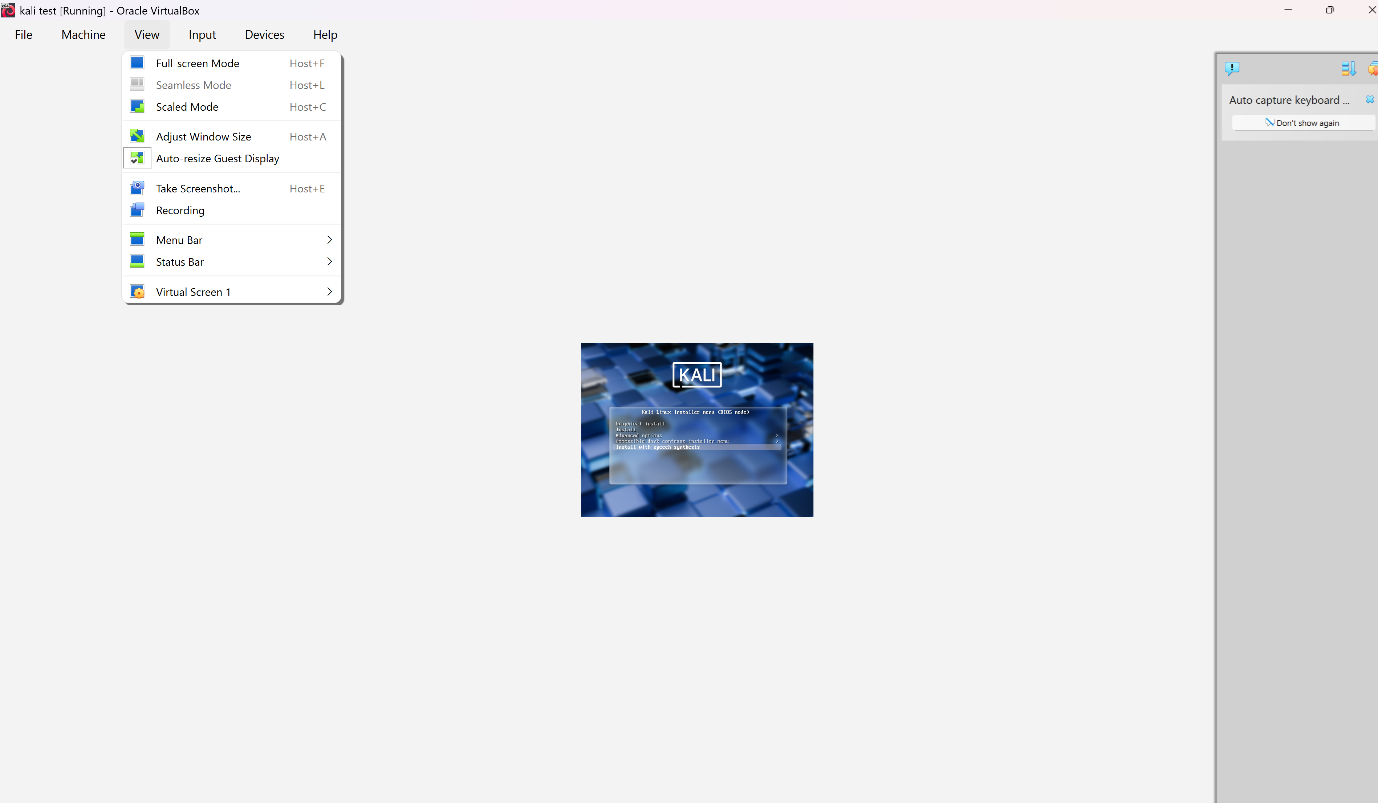
I’d recommend clicking View->Scaled Mode to make it a little bigger. Once you can read things, use the arrow keys to select Graphical Install and hit enter. A lot of the options to select here are pretty straightforward IMO, so I’ll skip those. Here’s tips on some of the less obvious options.

You don’t need to configure a network, you can leave this blank and click continue.
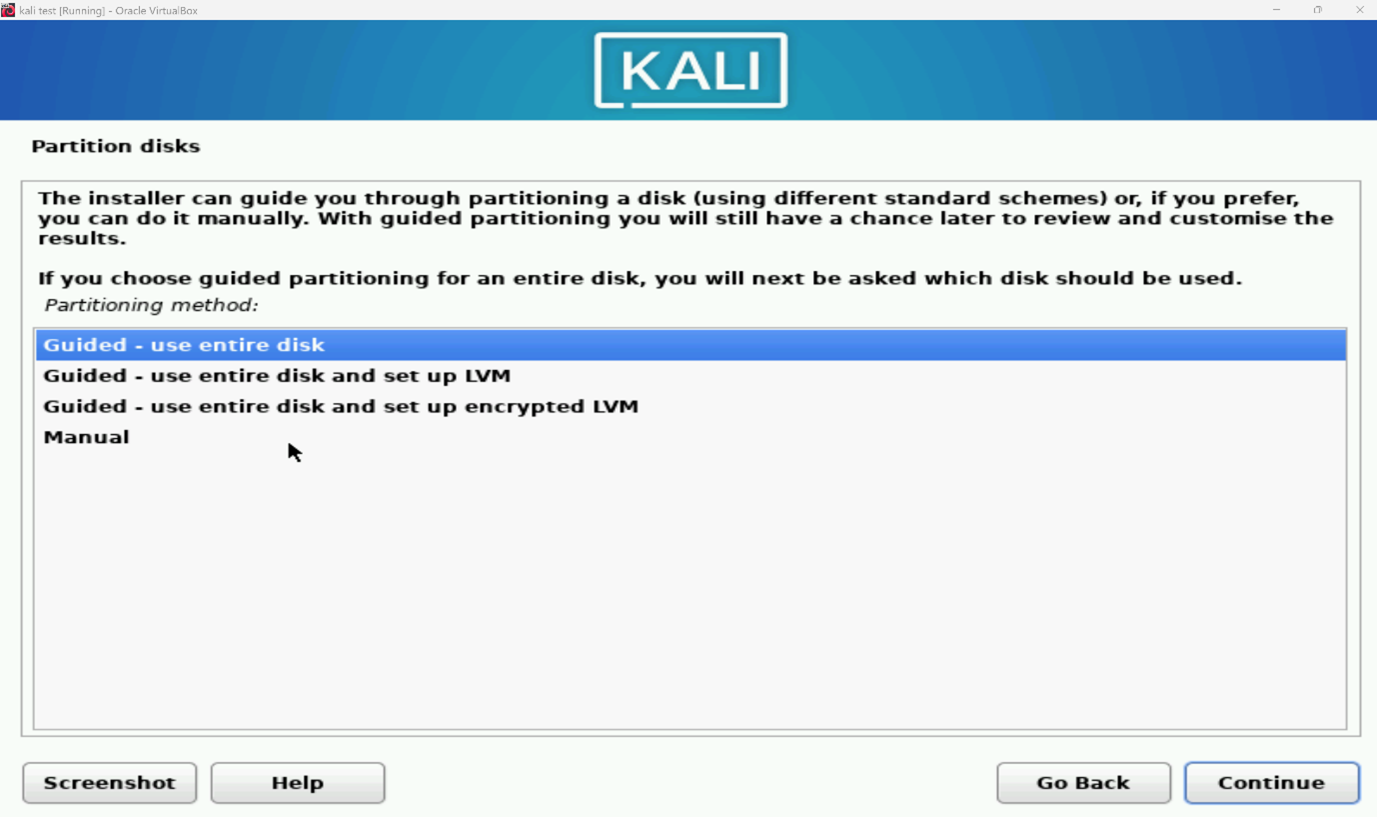
As we’re creating a virtual machine, it’s got virtual hardware. We’re not installing multiple operating systems on the same disc, as this has it’s own dedicated virtual one. This means we can go for the simplest options on memory management. Here I select “Guided- use entire disk”.
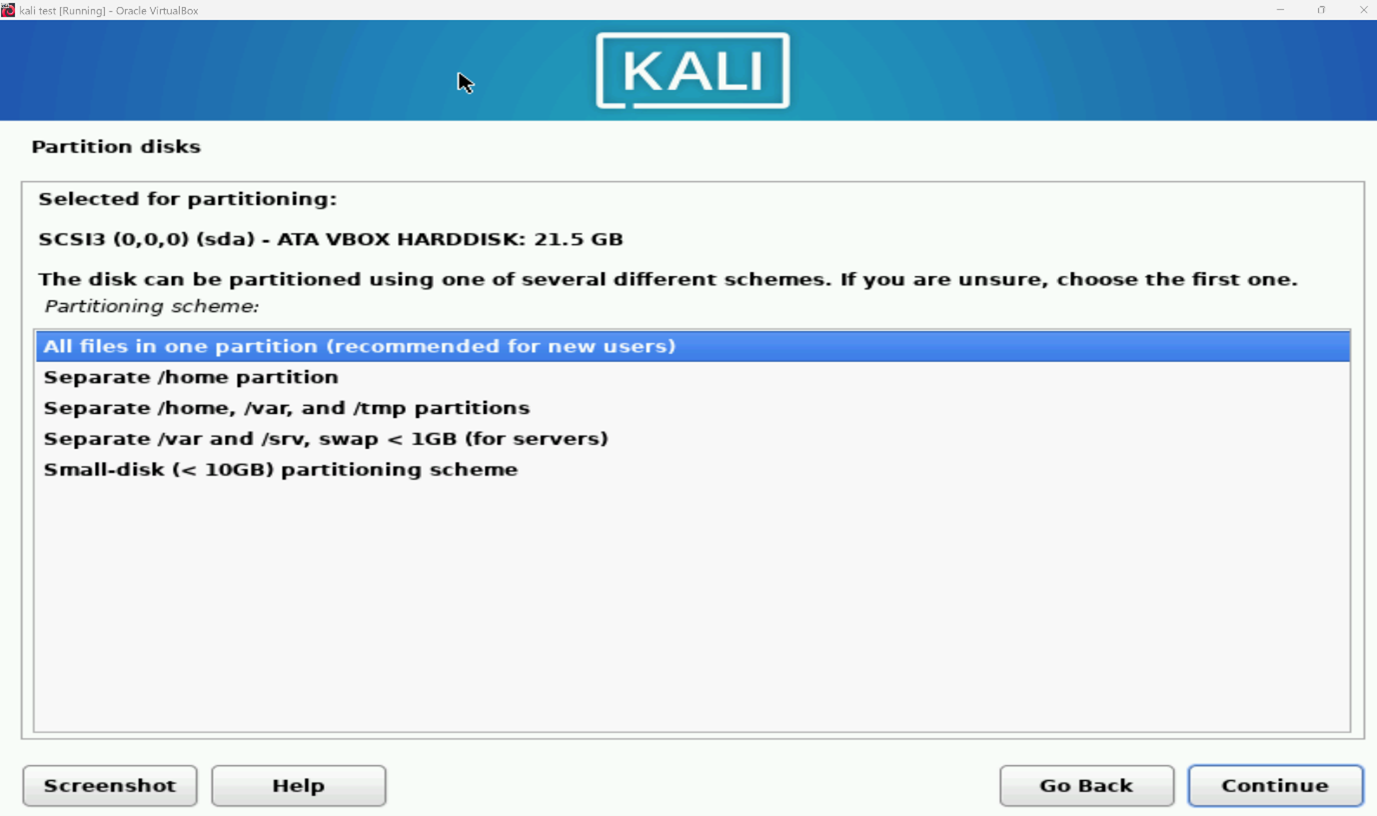
Again, we’re going for the simplest option, so I’m leaving it as “All files in one partition”. If you want, you can select other options though.
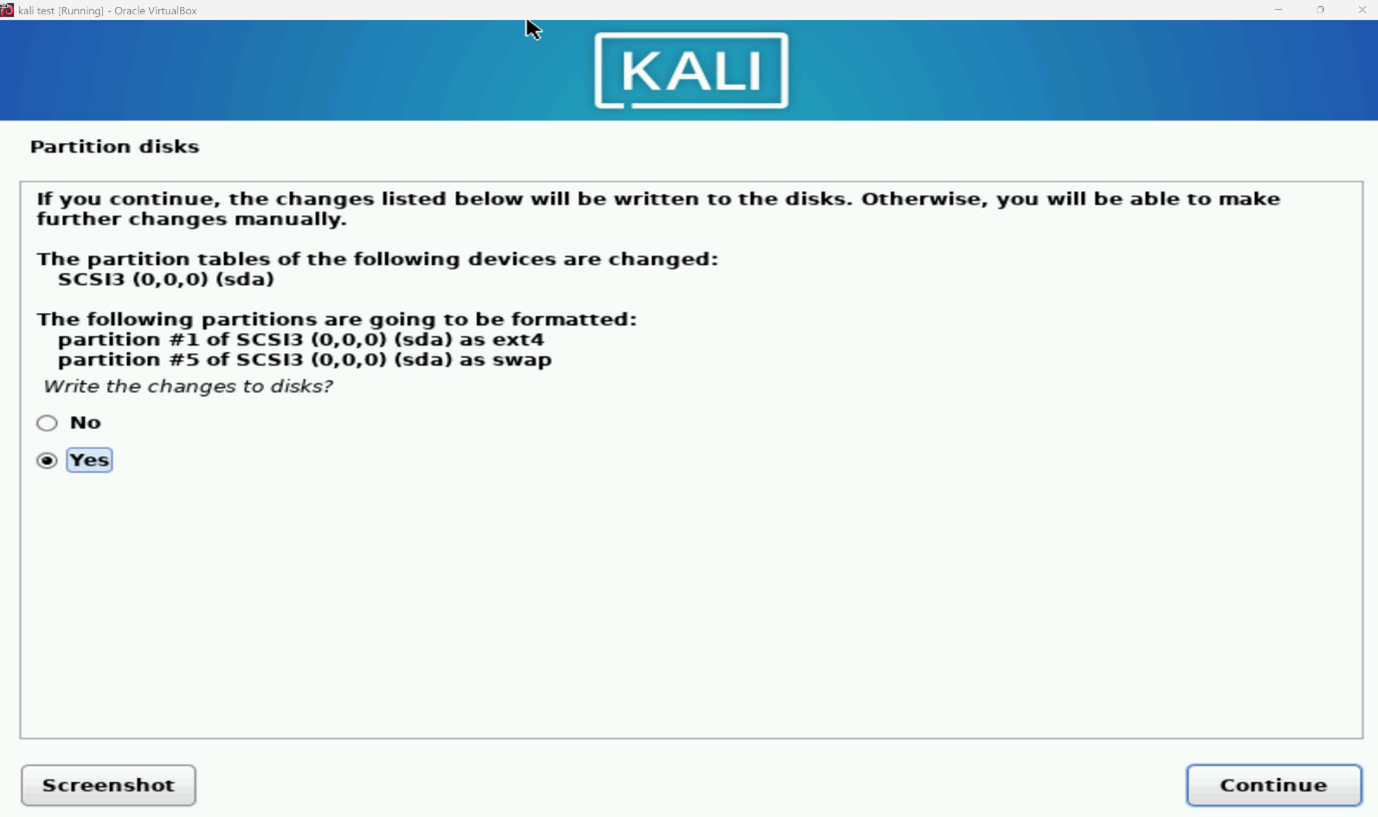
The default option for writing these disc changes is No, because you have the potential to fuck things up if you’re installing this on a physical disc which already has your host operating system on it (i.e. to dualboot). Change it to Yes and continue.
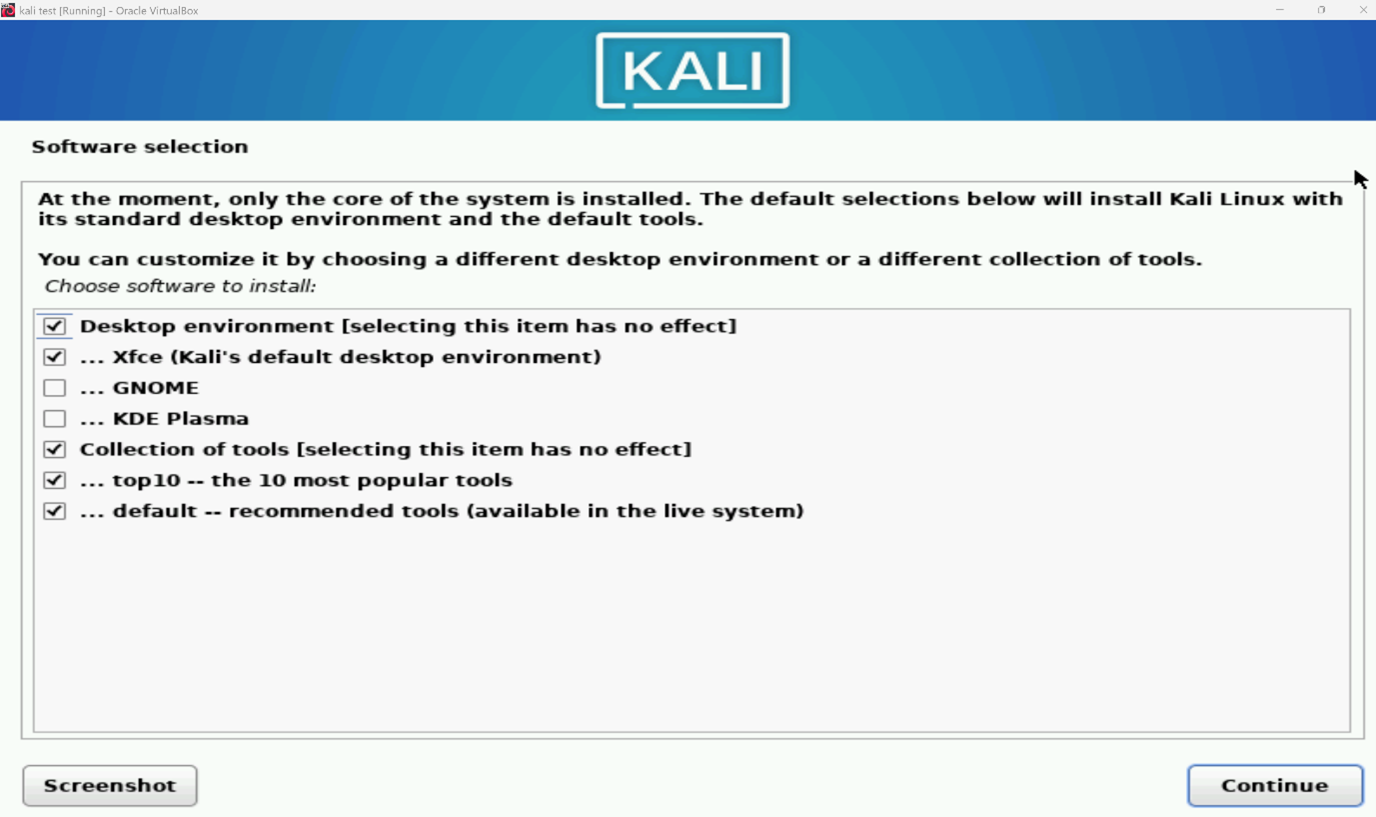
Again simplest option, I’m leaving these as the defaults.
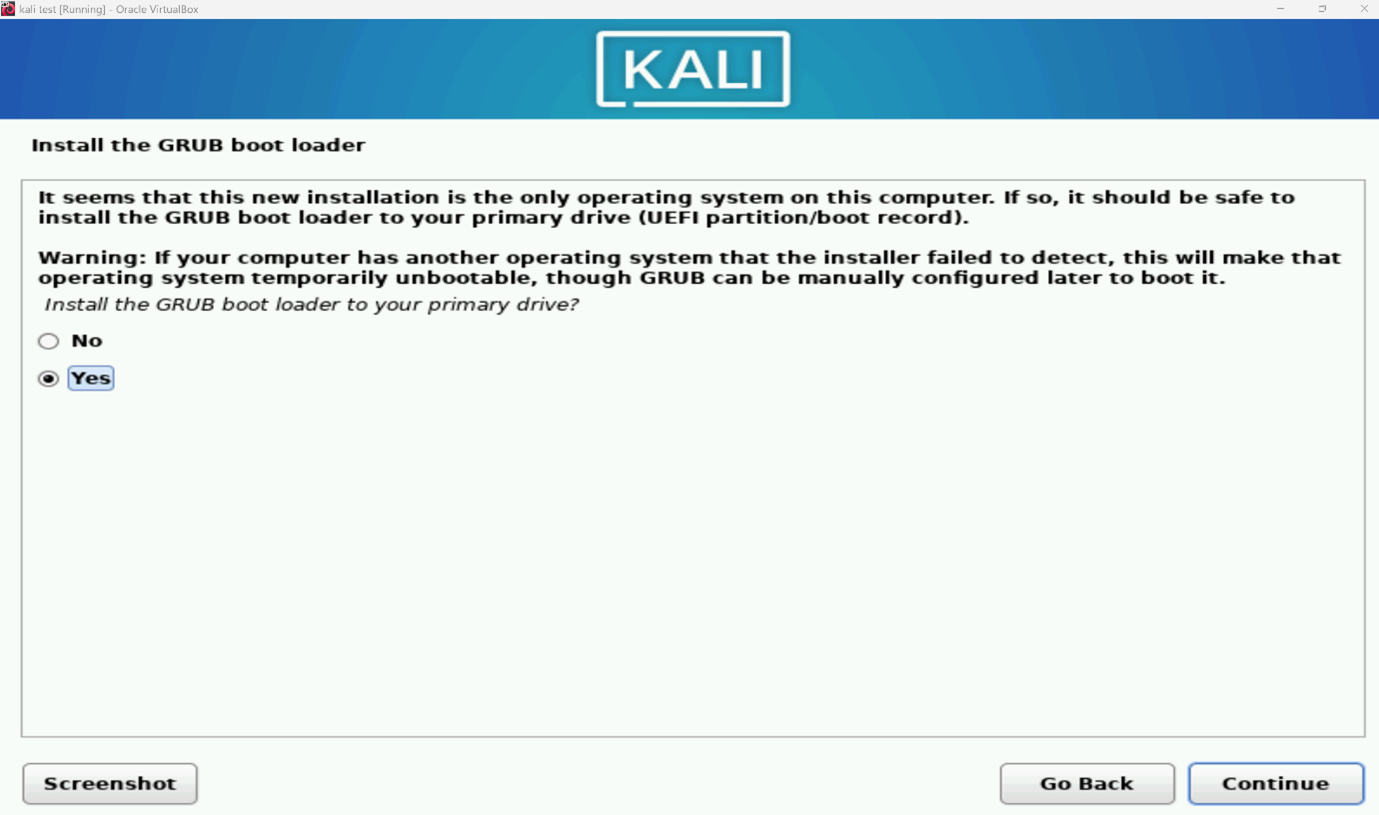
Make sure you install the GRUB boot loader.
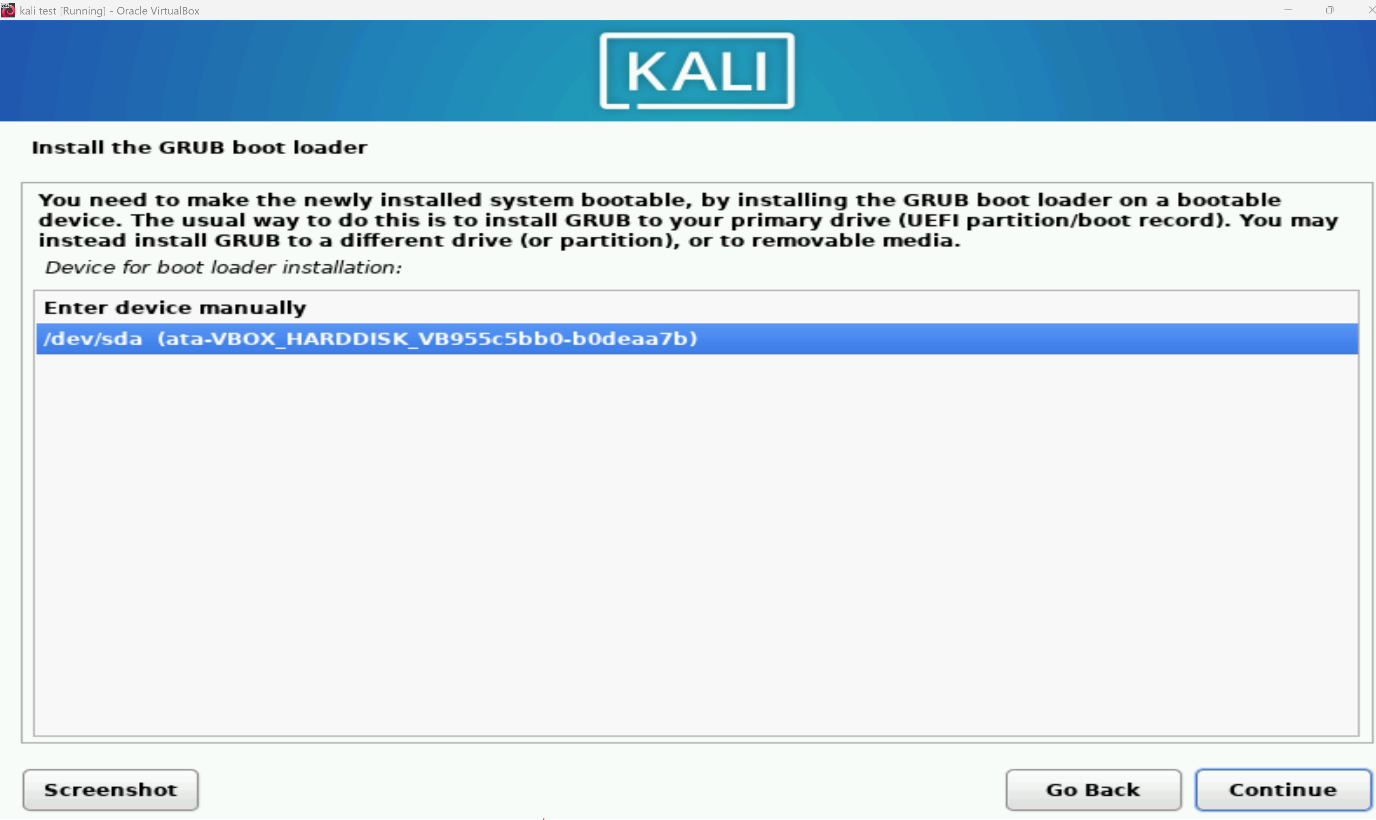
Install it on /dev/sda
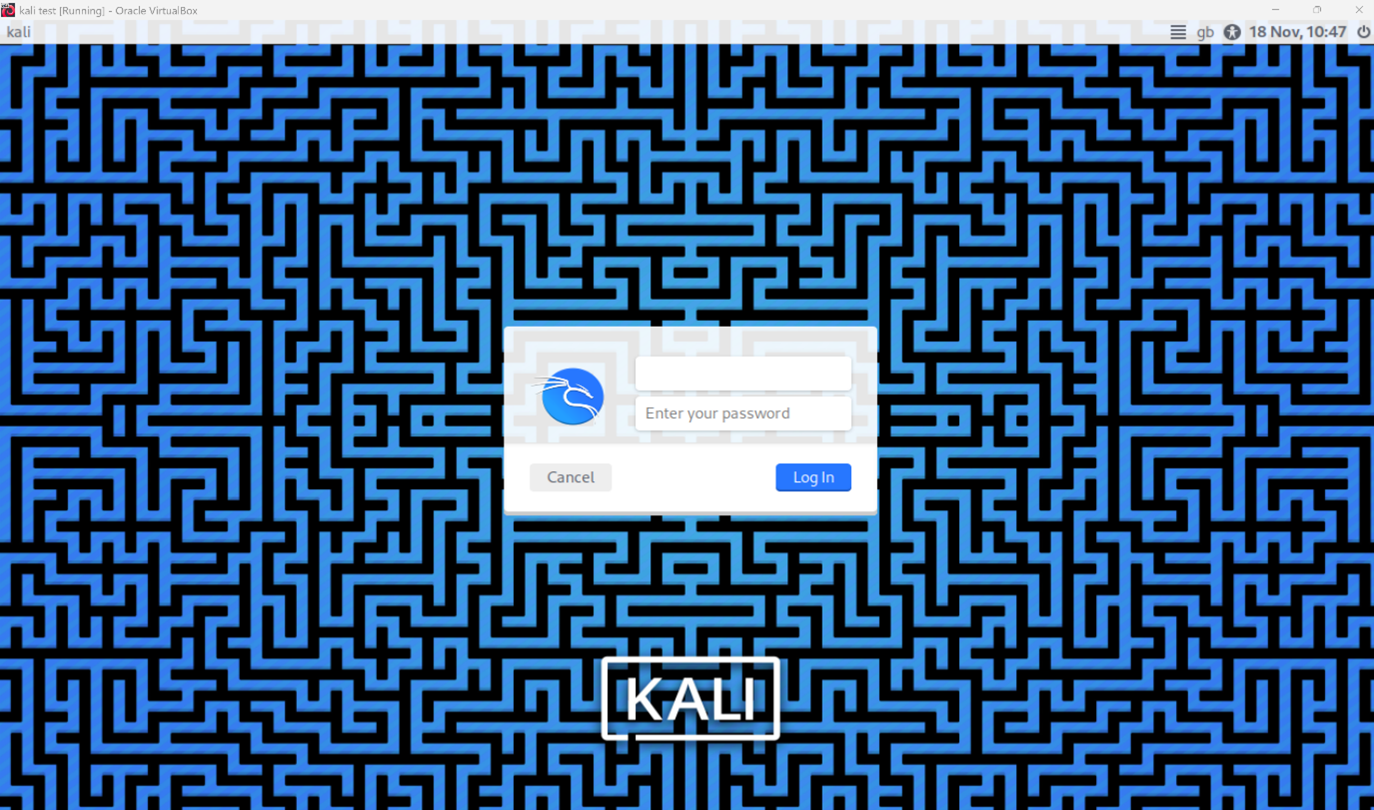
We have a desktop, hooray! Login with the credentials you created during setup.
Once you have your new desktop, click this black box on the bar at the top to get to the terminal:

I have developed muscle memory of changing the resolution of the VM within the terminal rather than the GUI because I’m probably autistic.
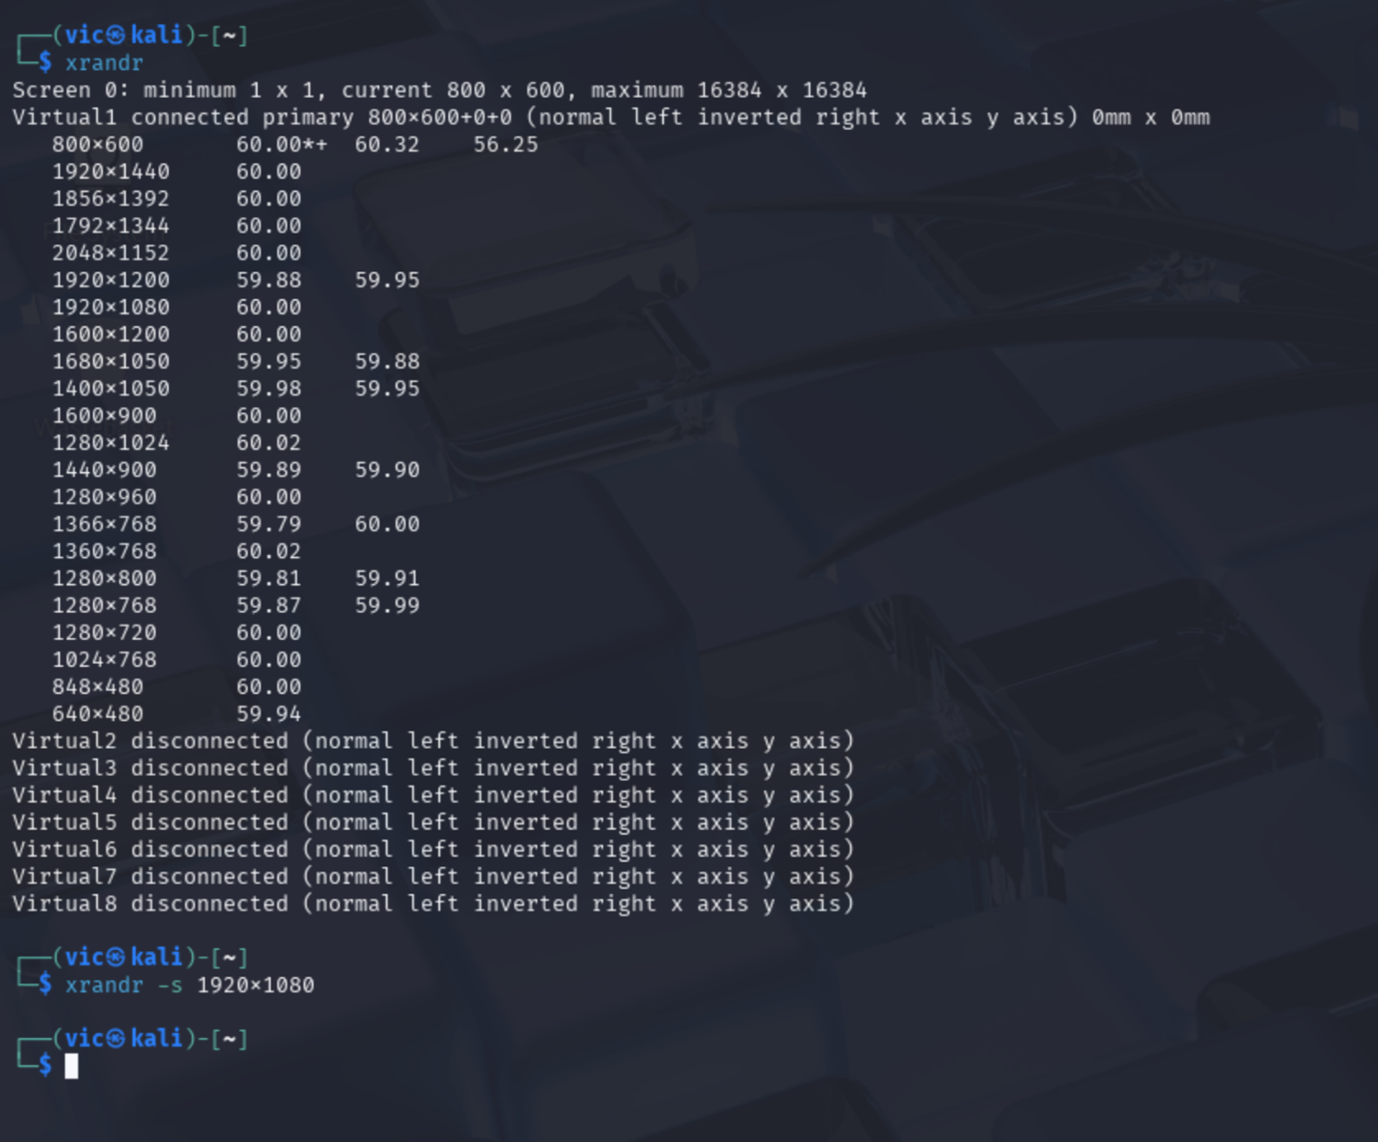
The command xrandr will list off available resolutions, and xrandr -s will let you set one of them.
Another bit of housekeeping to do with a new VM is to enable copy/pasting between your host system and VM.
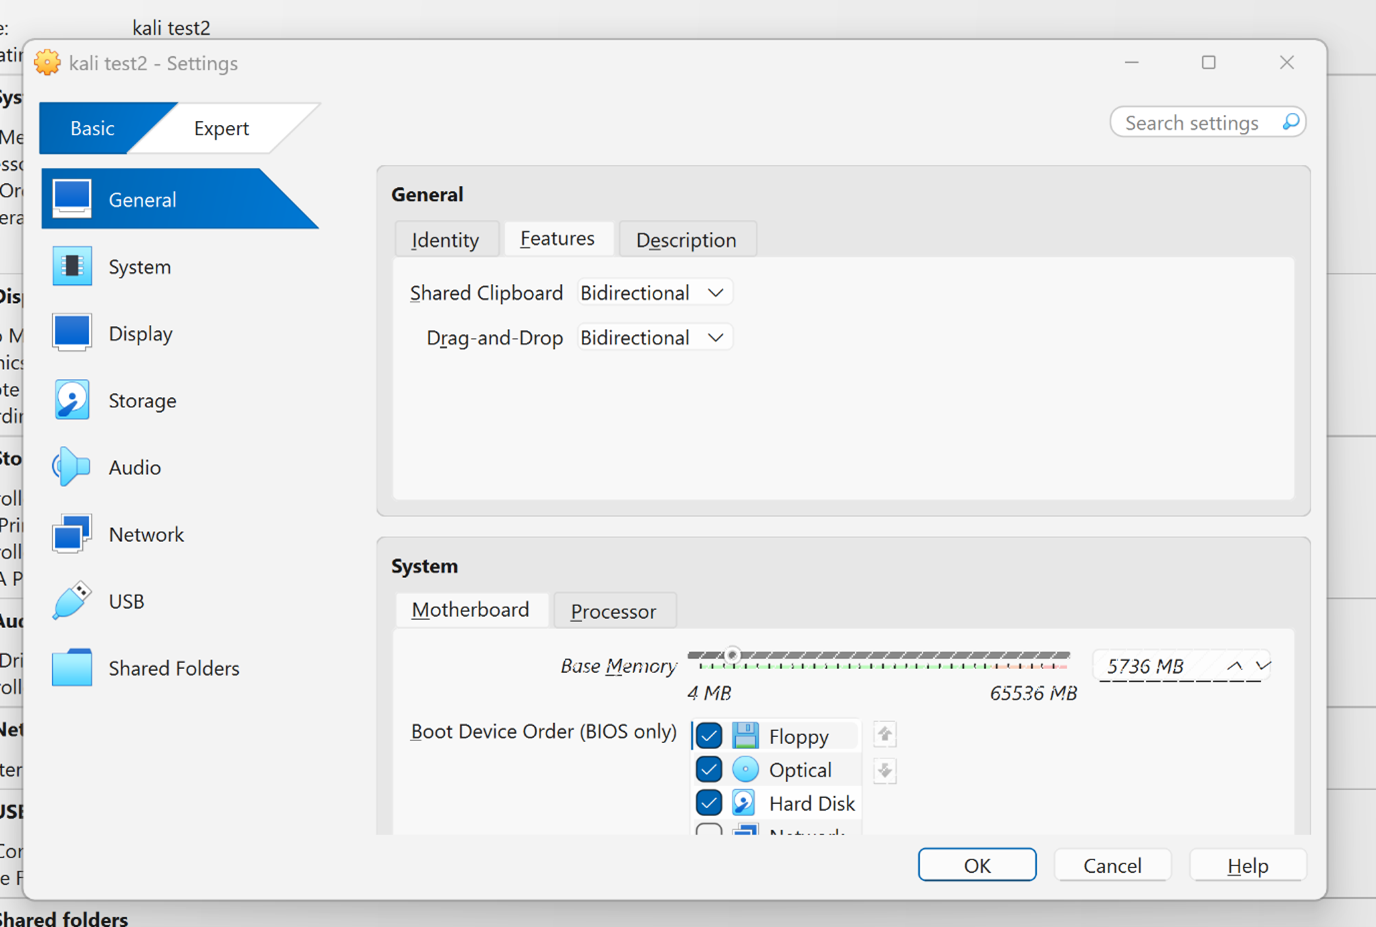
Back in Virtual Box click Settings, then under General go to Features. You can now enable shared clipboard and copy paste things in. The shortcut to paste things within the terminal is ctrl+shift+v. Also, using just one screen and getting stuck in the VM? The right ctrl key will free your cursor/focus so you can alt tab or whatever to other apps.
Once you’ve got everything set up, I’d recommend that you upgrade your VM.
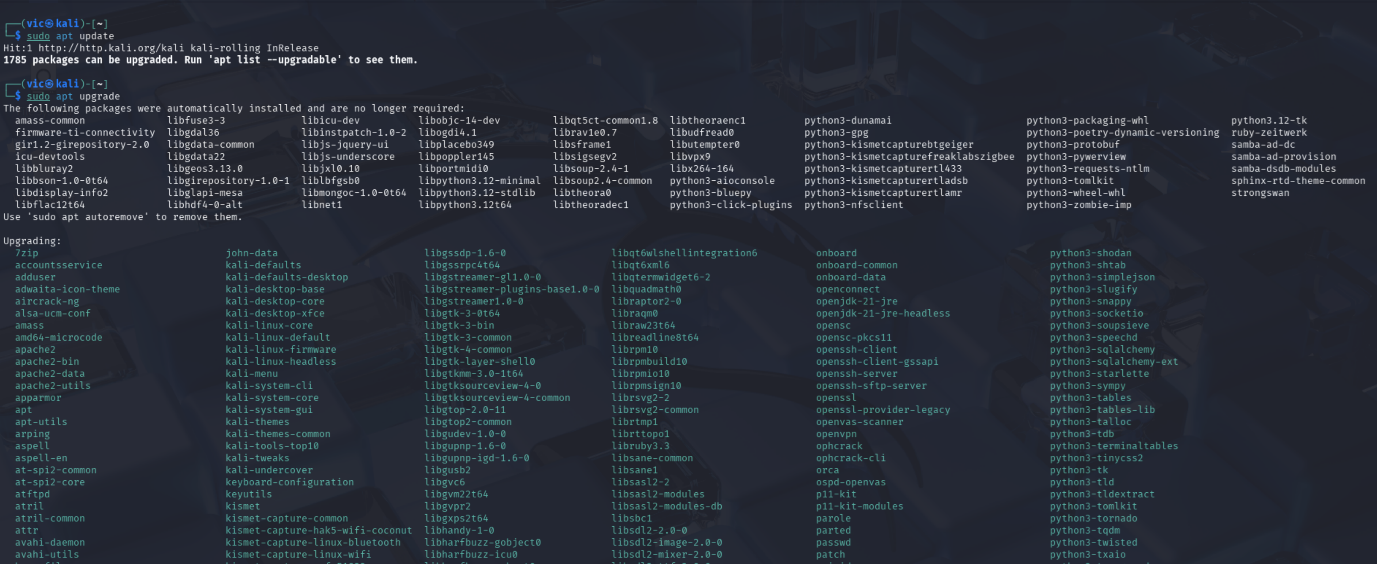
Run “sudo apt update” to see what needs updating, and “sudo apt upgrade” to run the upgrade. Warning: it’s slow as shit, especially if you’re using an older Kali image like me. You can run “sudo apt upgrade -y” to get it to auto accept questions, but it’ll still likely spawn a few choices for you to agree to.
Installing Juice Shop
I’ve decided to go with Juice Shop here as it’s a cool deliberately vulnerable webapp by OWASP which is absolutely full of a pile of things to learn about.
The GitHub page for it is here: https://github.com/juice-shop/juice-shop
For ease of installation, I’m going to use the docker image. To get docker installed/working on your new VM, run:
sudo apt install -y docker.io
sudo systemctl enable docker –now
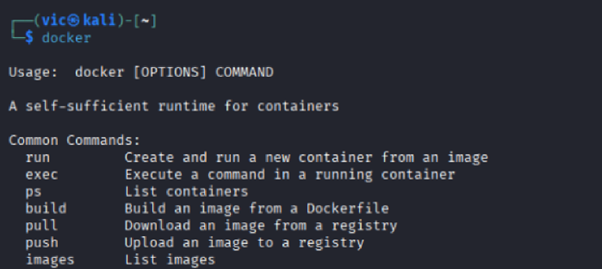
You can now just type “docker” into your console to check it installed correctly.
Now let’s grab the juice shop docker image and run it. Run these commands (taken from the GitHub page):
Sudo docker pull bkimminich/juice-shop
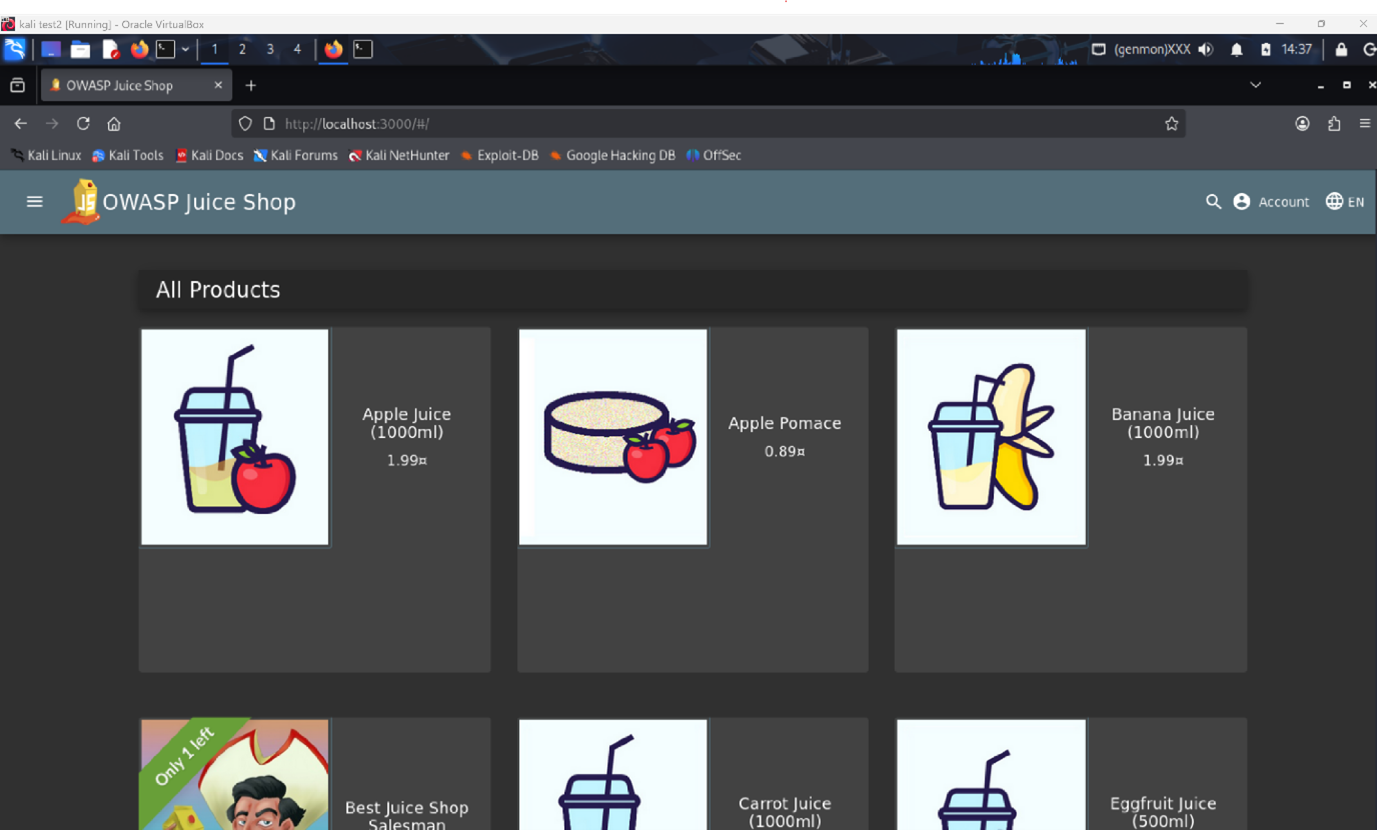
Sudo docker run –rm -p 127.0.0.1:3000:3000 bkimminich/juice-shop
Once you’ve done this, your terminal should “hang”- that’s because it’s running the process still. You can open your web browser and navigate to http://localhost:3000 to check that it’s all running properly.
Useful resources
- There’s a million Juice Shop guides/walkthroughs online
- The official companion is pretty cool, and free https://leanpub.com/juice-shop
- Burp Suite free version doesn’t have inbuilt lists, so grab ones off seclists: https://github.com/danielmiessler/SecLists
Be First to Comment